


I uploaded all of these images into PhotoModeler. Opening photo one I marked the outline of the reveals. I then went through all the other photo's and referenced any corresponding points
 Each time I referenced the corresponding points in a new image I hit the process button to ensure that I had entered enough information to orientate the photo's and solve all camera stations. A small image of a camera appeared over the photos on the left hand side of the screen to show they were orientated.
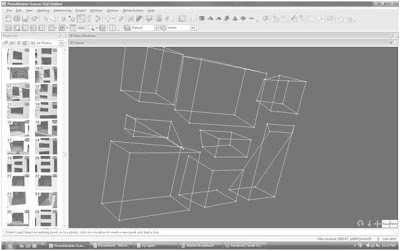
 The resulting 3d image showed the outline of each window reveal had been solved.
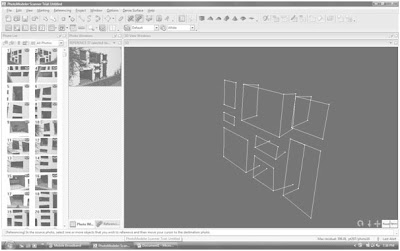
 I then marked all the points of the window reveals visible in photo one...
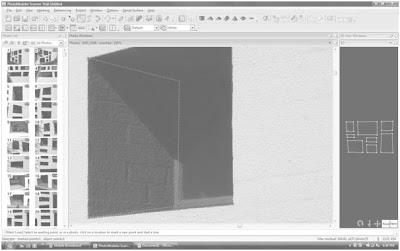 and referenced them into every other image they appeared in.
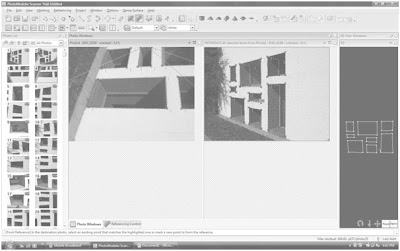
The resulting 3d was missing all lines to points that did not appear in the first image as they had yet to be marked and referenced.
 I opened photo two and marked any missing points which were visible on this image, then referenced them into every photo which showed a corresponding point. Moving onto photo 3, 4, 5, etc I continued marking and referencing corresponding points on the images. Every now and then I would hit the process button to update the 3d image on the right and see the progress of the project.
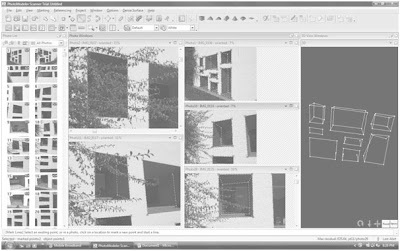 When all the points were marked and referenced I hit the process button again. Unfortunately the 3d model, despite showing all the points was not accurate. It was warped and twisted and some points were severely miss calculated. I went through every image, zoomed in on every point and adjusted it to more accurately match the photo's but the resulting 3d was still inaccurate. I then spent hours going through all the images and re-marking and referencing every point. I worked methodically, doing one window at a time and adjusting every corresponding photo.
 I opened photo two and marked any missing points which were visible on this image, then referenced them into every photo which showed a corresponding point. Moving onto photo 3, 4, 5, etc I continued marking and referencing corresponding points on the images. Every now and then I would hit the process button to update the 3d image on the right and see the progress of the project.When all the points were marked and referenced I hit the process button again. Unfortunately the 3d model, despite showing all the points was not accurate. It was warped and twisted and some points were severely miss calculated. I went through every image, zoomed in on every point and adjusted it to more accurately match the photo's but the resulting 3d was still inaccurate. I then spent hours going through all the images and re-marking and referencing every point. I worked methodically, doing one window at a time and adjusting every corresponding photo.
The resulting 3d image improved slowly as I worked through all the images but some points just refused to solve even though they were marked and referenced in several photos and other points remained warped. I think the program was confused by the amount of data I was trying to enter.
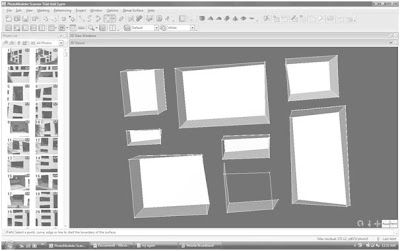
I went through the photo's again and adjusted the points not to match the photo but to create a more accurate 3d model but still couldn't get the bottom middle window complete. I added surfaces to all the other windows using the surface command. The window reveals appeared to float ion space as the wall itself had not been modeled due to an inability to take photos which showed enough information to model it.
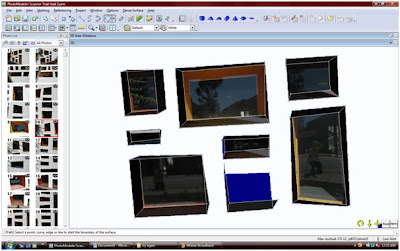
I would have to say that this trial was again unsuccessful. Perhaps professional training in the software and a lot more practice would reveal the true potential of the PhotoModeler. The results of the tutorials were quite convincing, but on a more complex object it was not so easy. This was a disappointing result.